Want to show off your cEDH gameplay or just play with your friends online with style and clarity? Here’s how to set up OBS (Open Broadcaster Software) to capture your webcam and overhead playmat and stream it over Discord. Clean, easy, and effective.
What You’ll Need
- A computer or laptop
- A webcam or overhead camera (your phone can work!)
- OBS Studio (Free, download here). We’ve checked this guide against OBS Studio 32.2.2, released August 2026
- A Discord account and a server with voice channels
- A mic/headset (please no echo chambers)
- (Optional) A playmat-sized space and good lighting
Step 1: Install OBS
If you haven’t already, download OBS Studio for your system:
Install it and open it up. It may look overwhelming at first — don’t worry. You only need a few things to get started.

Step 2: Add Your Camera
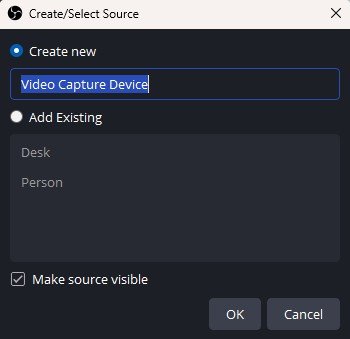
In OBS:
Tip: You can use your phone as a camera via apps like DroidCam or EpocCam
- In the Sources box (bottom centre), click the + and select Video Capture Device.
- Name it something like
Overhead Cam. - Choose your camera from the dropdown. You should see a live preview.
- Resize and reposition as needed.
Step 3: Set Up a Scene Layout
To keep things clean and readable:
- Stretch your camera feed to cover the canvas.
- Optionally add an overlay (like player names or logos) by dragging in images via + → Image.
- To add your face, repeat Step 2 but select a different camera for a face cam box.
Step 4: Send Your OBS Scene to Discord
OBS has had a Virtual Camera built in since version 26, and Discord can use it just like any other webcam. It’s the cleaner route, since your whole scene turns up in Discord as your camera, overlays and all!
- In OBS, click Start Virtual Camera in the Controls panel at the bottom right, and leave OBS running.
- In Discord, open User Settings → Voice & Video, and under Camera choose OBS Virtual Camera.
- Join a voice channel on your server and turn your camera on. The table sees your OBS scene.
- If Discord was already open before you started the virtual camera, you’ll need to restart it so it lists the new camera.
The older route still works if you would rather share a window: in the voice channel click “Screen” at the bottom left → “Applications” tab, select OBS Studio, and stream at 720p/30fps minimum for clear resolution (higher if you have Discord Nitro). The difference is that a screen share is a stream the others watch, while the virtual camera is your camera tile, which is what a SpellTable-style table expects.
Step 5: Audio Tips
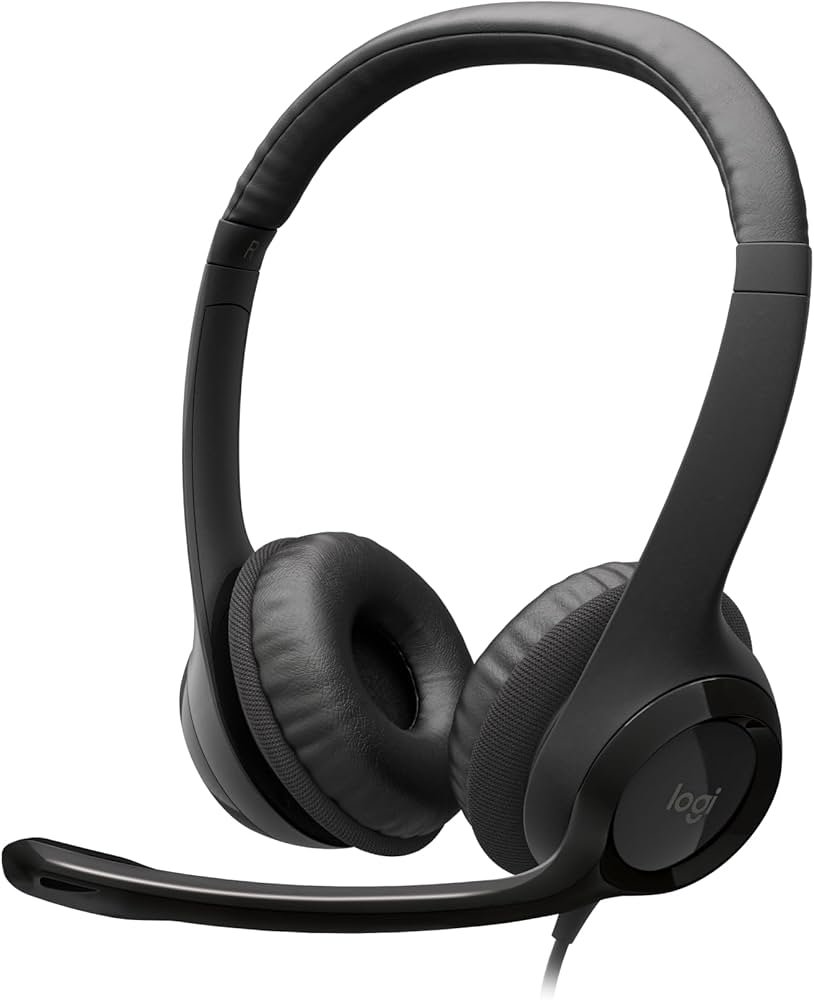
Use a headset to avoid echo.
In OBS, go to Settings → Audio and make sure your mic is set up correctly. The virtual camera only carries video, so Discord takes your voice from the microphone you choose in Voice & Video, not from OBS.
Bonus: Troubleshooting
Camera isn’t showing up in OBS?
- Check it’s not in use by another app.
- Restart OBS or your computer.
OBS Virtual Camera isn’t listed in Discord?
- Make sure you clicked Start Virtual Camera in OBS first, then restart Discord.
- On a Mac, the first start asks for camera permission for Discord. Grant it in System Settings → Privacy & Security → Camera and you’re set.
Laggy video?
- Lower resolution in OBS.
- Close other apps using bandwidth or CPU.
No one hears you?
- Check mic permissions in Discord and OBS.
- Make sure you’re not muted (yes, it happens to all of us).